TUCSON DRYWALL SERVICE
Common DIY Drywall and Paint Repair Mistakes Homeowners Should Avoid
Don't Make These Drywall Mistakes: Lessons for Homeowners
Countless homeowners face the challenges of drywall and paint repairs. While undertaking these DIY projects can be a cost-effective solution, it is crucial to avoid common mistakes that can compromise the final result. In this blog post, I will highlight some of the most prevalent errors that homeowners make when tackling drywall and paint repairs. By learning from these mishaps, you can ensure a successful and professional-looking outcome for your next home improvement venture. So, let's dive into the world of DIY drywall and paint repairs and uncover the mistakes you should steer clear of as a homeowner.
Lack of proper preparation
One of the most common mistakes I see homeowners make is a lack of proper preparation when it comes to DIY drywall and paint repairs. It may be tempting to skip this step and jump right into the project, but taking the time to properly prep your surfaces will ultimately save you both time and money in the long run. Whether it's failing to clean the walls thoroughly or neglecting to sand down rough patches, these oversights can lead to a bumpy and unprofessional-looking finish. So, before you start any repair or painting project, always remember the importance of proper preparation.
Ignoring the significance of priming
Priming when it comes to DIY drywall and paint repair projects. Many homeowners often overlook or underestimate the significance of priming before painting, and this can lead to disappointing results. Priming not only creates a smooth and even surface for paint to adhere to, but it also helps to seal the drywall, prevent patches from showing through, such as better paint adhesion, smoother finish, and enhance the durability and longevity of the paint job. So, homeowners, make sure to never skip this crucial step for a flawless and long-lasting finish.
One of the most common errors is not properly prepping the walls before applying the paint. This can result in uneven paint coverage, with some areas appearing splotchy or lighter than others. Additionally, failing to prime the walls can cause the paint to peel or chip prematurely, leaving homeowners frustrated and having to redo the entire project. It's important for homeowners to take the time to properly prepare their walls before painting to ensure a smooth and long-lasting finish.
Inadequate patching techniques
One of the most prevalent mistakes I often come across is inadequate patching. Many homeowners fail to properly prepare the damaged area, resulting in a patch that is not only visible but also prone to cracking and crumbling. It is crucial to take the time to thoroughly clean and sand the damaged surface before applying a patching compound, ensuring a smooth and seamless repair.
Spackling compound and joint compound are interchangeable, but in reality, they serve different purposes. Spackling compound is ideal for small repairs and filling nail holes, while joint compound is better suited for larger areas and creating a seamless finish. It is crucial for homeowners to understand the proper use of these compounds to ensure successful repairs and a professional-looking result.
Overfilling can lead to an uneven surface and make it difficult to achieve a smooth finish, while underfilling may result in a noticeable indentation. It's crucial to take the time to assess the extent of the damage and apply the appropriate amount of filler to ensure a seamless and professional-looking repair job.
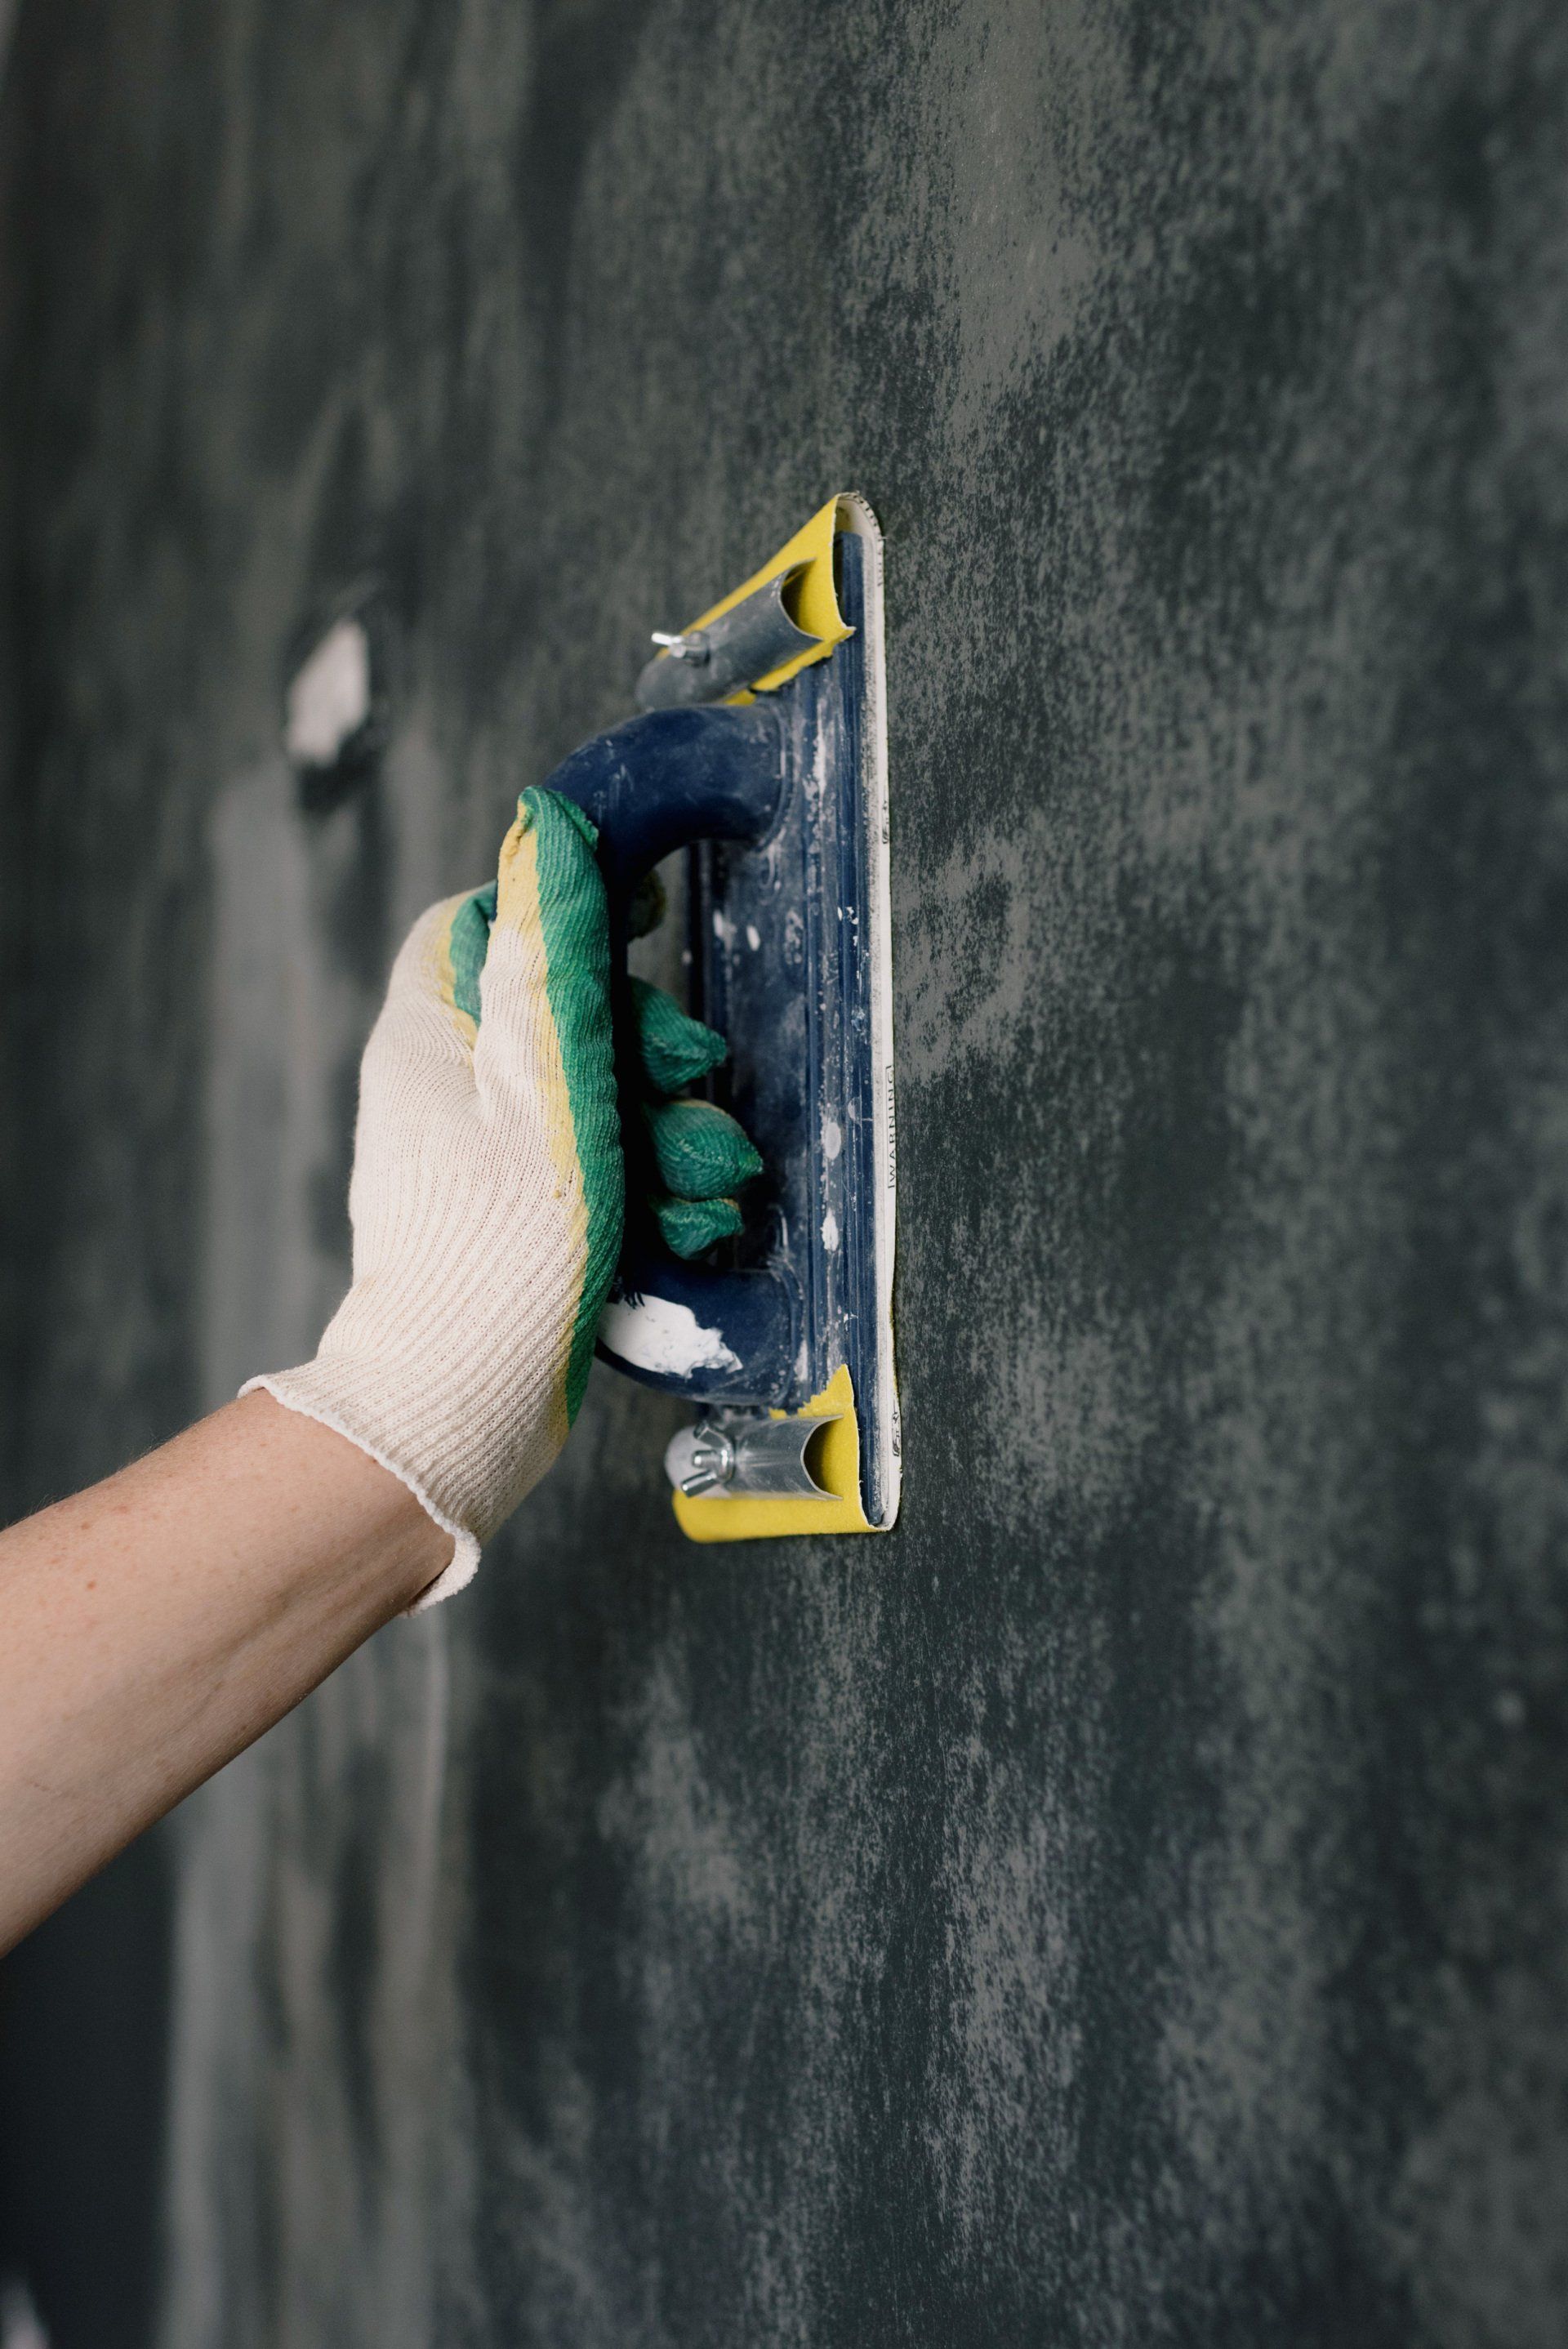
Improper sanding and feathering
Smooth sanding and feathering techniques when it comes to DIY drywall and paint repair. The mistake of rushing through these steps or neglecting them altogether, resulting in unsightly walls and noticeable paint lines. Smooth sanding ensures a seamless surface, while feathering, the technique of gradually tapering the paint or joint compound, creates a smooth transition and hides any imperfections. Taking the time to master these techniques will greatly improve the overall appearance of your home and give it a professional finish.
One common mistake that homeowners often overlook is choosing the wrong sandpaper grit and sanding block for the surface they are working on. It's important to understand that different surfaces require different levels of abrasion. Using too coarse of sandpaper on a delicate surface can result in unintentional damage, while using too fine of sandpaper on a rough surface may not achieve the desired smoothness. So, before you start sanding, take the time to assess the surface and choose the appropriate grit and sanding block for optimal results.
Neglecting proper paint blending
Matching the color of the existing paint or properly blending new paint with the surrounding area. Failure to do so can result in noticeable patches or inconsistent colors on the walls. To achieve a seamless finish, it is crucial to carefully select the right paint shade and invest time in blending techniques such as feathering or layering. Trust me, taking the extra effort to ensure color matching and blending will greatly enhance the visual appeal of your repainted walls.
Using paint samples, color swatches, or professional color matching tools when it comes to drywall and paint repair. Too often, homeowners make the mistake of relying on their eyes alone to choose a color that will seamlessly blend with the existing paintwork. However, this can lead to mismatched shades and an obvious patchwork appearance. By utilizing these tools, homeowners can ensure an accurate color match and achieve a professional-looking finish.
Rushing the process
Patience and taking the time to complete each step correctly. Many homeowners make the mistake of rushing through the repair process, leading to unsatisfactory results and costly mistakes. By allowing ample time for each step, such as properly preparing the area, applying multiple coats of paint, and allowing proper drying time, homeowners can ensure a flawless finish that will last for years to come. Remember, patience is key when it comes to tackling DIY drywall and paint repair projects.
Rushing through these repairs in an attempt to quickly fix a problem may seem like a time-saver, but it often leads to subpar results and the need for additional rework in the future. By thoroughly prepping the surface, using the correct tools and techniques, and allowing ample drying time between coats, homeowners can ensure a successful repair that will stand the test of time.
Conclusion
In conclusion, proper preparation is crucial when it comes to repairing and painting surfaces. Priming the repaired area is an essential step that should never be skipped. Not only does it improve paint adhesion, but it also results in a smoother finish and enhanced durability. Neglecting to prime can lead to uneven paint coverage and peeling, causing the repaired areas to stand out and requiring additional touch-ups down the line.
Additionally, it is important to patch small holes, cracks, and dents in drywall correctly, using the appropriate materials and techniques such as smooth sanding and feathering. Rushing the process and neglecting proper paint blending can also result in less than satisfactory results. So, to ensure a seamless and professional-looking finish, always take the time to properly prepare and repair before painting. If you're in need of expert help or a free quote for your painting projects, don't hesitate to contact us. We're here to ensure your surfaces look their best for years to come.
Ready to work with TUSCON DW?
Let's connect! We’re here to help.
Send us a message and we’ll be in touch.
Or give us a call today at 111-222-3333
Agency Contact Form
More Marketing Tips, Tricks & Tools