TUCSON DRYWALL SERVICE
How to Easily Cover a Hole in the Wall: The DIY Solution
DIY Hack: Patching a Hole in the Wall Made Easy
Whether it was caused by an enthusiastic child, a misfired nail, or simply the wear and tear of everyday life, a gaping hole in the wall can be an eyesore that detracts from the beauty and functionality of your home. But fear not, homeowners and residents! In this blog post, I will guide you through a simple and effective DIY solution that will have that hole in the wall drywall covered in no time. With just a few tools and some easy-to-follow steps, you'll be able to restore the seamless and pristine appearance of your wall, leaving everyone impressed by your handy skills. Say goodbye to unsightly holes and hello to a flawless finish!
Assessing the Size and Type of Hole
The key to a successful repair job lies in properly assessing the size and type of hole you are dealing with. First, let's consider the size. Small holes, such as those left by nails or small screws, can easily be filled using simple putty or spackle. These types of holes typically require minimal effort and can be smoothed over with a putty knife.
On the other hand, medium-sized holes may require a bit more attention. These might result from a doorknob slamming into the wall or a poorly placed furniture piece causing damage. In such cases, the best approach is to use a patching compound, cover a hole in the wall such as joint compound or plaster, to fill the hole and create a smooth surface.
These compounds offer durability and can withstand the stress of everyday use. So, don't fret if you have a medium-sized hole – with the right tools and techniques, it can be easily fixed.
Preparing the Wall for Repair
Through the process of easily covering that unsightly hole yourself. Before diving into the actual repair, it is crucial to first prepare the wall. Start by clearing the area around the hole, removing any furniture or decorations to ensure you have ample space to work. Next, gather your tools and materials. You will need a putty knife, sandpaper, a joint compound, and a patching kit. These items can typically be found at your local hardware store, and believe me, they are well worth the investment.
Additionally, it is wise to wear protective goggles and gloves to safeguard yourself from any potential hazards. Once you have all your supplies ready, take a moment to inspect the hole and gauge its size. This will help you determine the appropriate patch size and the amount of joint compound necessary for a seamless fix. Remember, preparation is key to achieving a professional-looking repair job, so take your time to set yourself up for success.
Choosing the Right Repair Method
Before rushing to fix it, it's important to assess the severity of the damage and choose the right repair method. For smaller holes, such as nail or screw holes, a simple patching compound can often do the trick. This method involves filling the hole with the compound, smoothing it out with a putty knife, and allowing it to dry before sanding and painting over it.
However, for larger holes, such as those caused by accidental impact or plumbing repairs, a more extensive approach may be required. This could involve using drywall tape and joint compound to reinforce the area, creating a seamless surface for later painting or wallpapering. By taking the time to properly choose the right repair method for your specific hole, you can ensure a professional-looking result that seamlessly blends into your wall's surface.
Executing the Repair
The first step is to assess the size of the hole. For small holes, such as nail holes or small cracks, a simple spackling paste will suffice. Apply the paste to the hole using a putty knife, smoothing it out as you go. Once the paste is dry, sand it down gently until it blends seamlessly with the surrounding wall. Larger holes, on the other hand, require a bit more effort. Begin by inserting a drywall patch into the hole, securing it in place with drywall screws.
Then, apply joint compound over the patch, using a putty knife to smooth it out and create a seamless finish easiest way to patch a hole in the wall. Allow the compound to dry and then sand it down to achieve a smooth, even surface. Remember to take your time during this process, as it can significantly impact the end result. By following these simple steps, you can easily cover a hole in the wall and restore the aesthetic appeal of your home with minimal effort.
Finishing Touches and Aesthetic Restoration
After all, a well-maintained and visually appealing home is not only inviting but also adds value to your property. When it comes to the DIY solution, there are a few key steps to follow to ensure a seamless hole in the wall drywall repair and professional-looking repair. Firstly, it is crucial to assess the size and depth of the hole to determine the appropriate materials needed. For smaller holes, a patching compound or spackling paste can be used, while larger holes may require a patching kit or even a piece of drywall to replace the damaged area entirely.
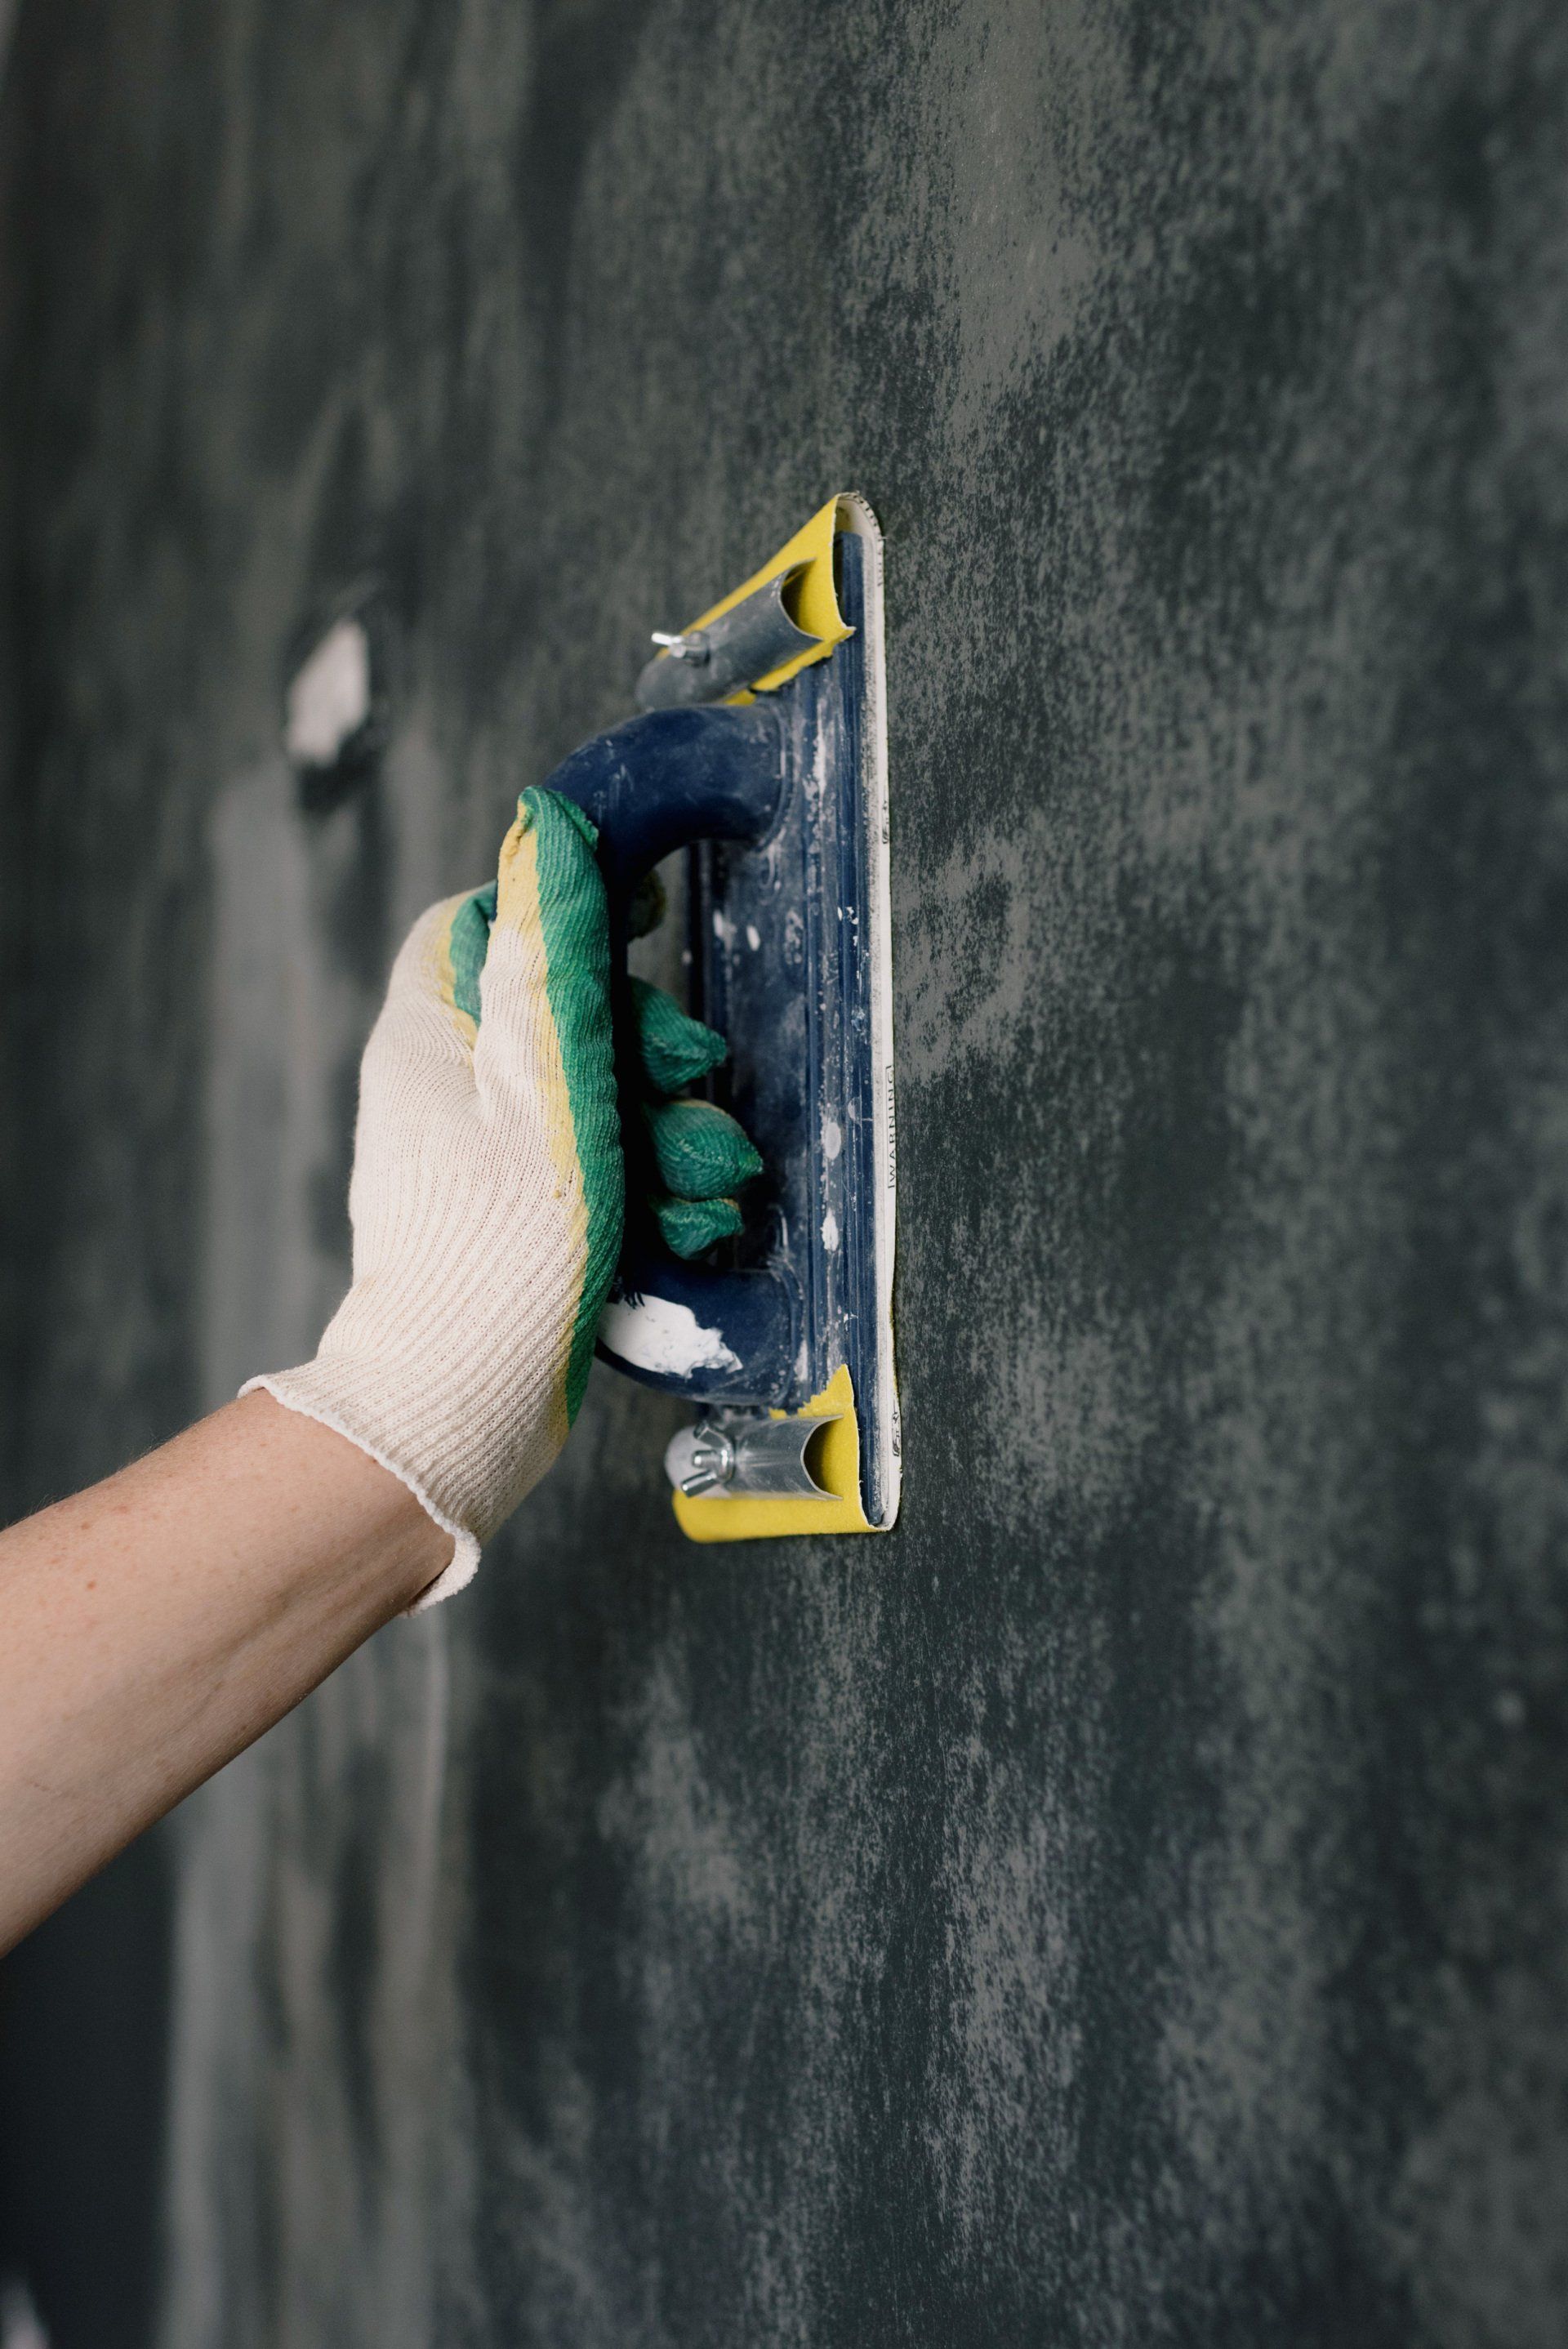
Once the hole has been patched, it is essential to blend the repaired area with the rest of the wall seamlessly. This can be achieved through careful sanding hole in the wall fixer and priming of the patched area, ensuring a smooth finish.
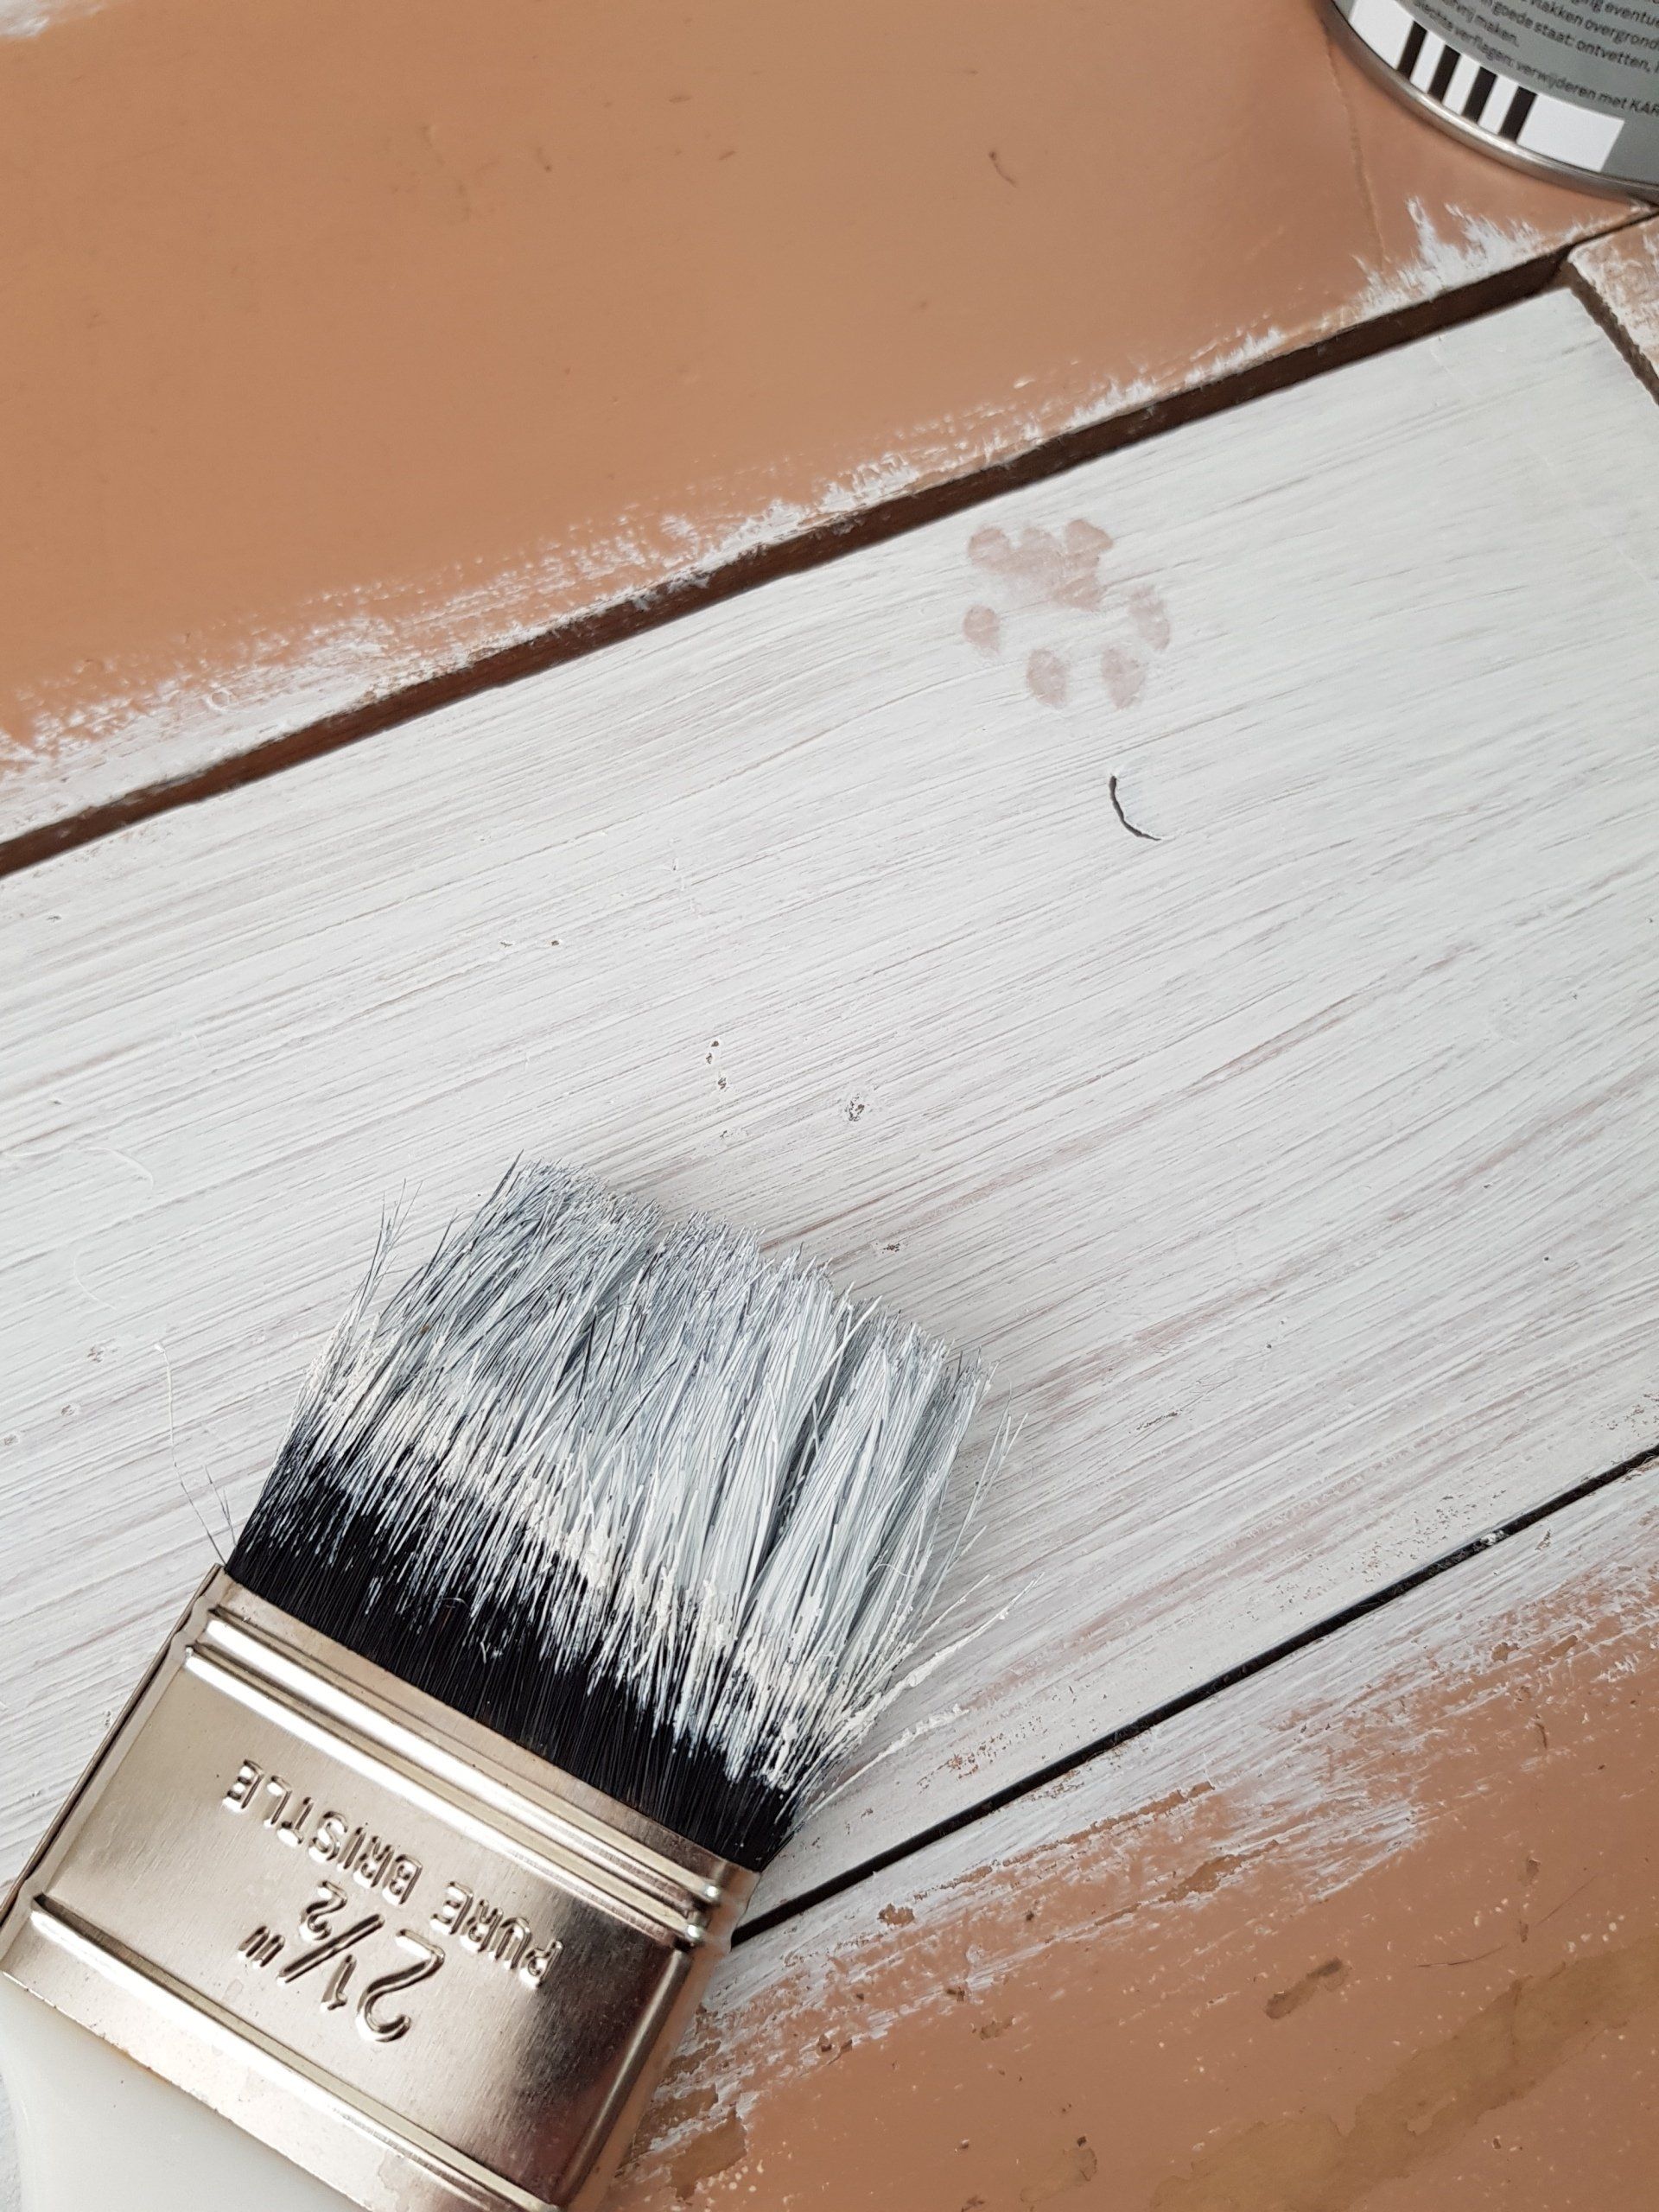
Applying several coats of paint, matching the color to the surrounding wall, will further enhance the aesthetic restoration. Depending on the texture of your wall, it may be necessary to mimic the texture on the repaired area for a cohesive look. Utilizing techniques such as stippling or using a stippling brush can achieve this effect. Finally, adding a layer of clear varnish or sealant over the repaired area will protect the surface and give it a polished appearance.
Taking the time to address holes in your walls with meticulous attention to detail can make all the difference in the overall appearance of your home. With a few simple materials and the assistance of DIY guides or helpful online tutorials, you can successfully cover a hole in the wall and achieve a professional-looking finish.
By investing some effort into the finishing touches and aesthetic restoration, you can seamlessly integrate the repaired area into the surrounding wall easiest way to fix a hole in the wall , leaving no evidence of the previous damage hole in the wall drywall repair. Enjoy the satisfaction of a job well done and the newfound beauty of your restored space.
Maintenance and Preventive Measures
Not only do these unsightly blemishes diminish the overall appearance of a room, but they also serve as potential entry points for pests and can compromise the structural integrity of the wall. Thankfully, covering up a hole in the wall can be a relatively easy DIY task that can be accomplished with just a few basic tools easy way to patch a hole in the wall and materials.
To start, you will need a putty knife, some spackling paste, and a sanding block. Simply clean the area around the hole, removing any loose debris, and then apply the spackling paste using a putty knife, smoothing it out until it is level with the surface of the wall.
Once it has dried, lightly sand the area to ensure a seamless finish. Whether you are a seasoned DIY enthusiast or a novice homeowner, mastering this simple skill fix a hole in the wall kit can save you time and money in the long run, and keep your walls looking impeccable.
Conclusion
In conclusion, repairing holes in your walls doesn't have to be a daunting or expensive task. By following the step-by-step process outlined in this blog post, you can confidently take on the challenge and save money in the process. Remember to assess the size and type of the hole, properly prepare the wall, choose the right repair method, execute the repair with precision, and finish with aesthetic restoration.
Taking proactive maintenance and preventive measures will also help keep your walls in pristine condition for years to come. So why wait? Start your DIY wall repair journey today and experience the satisfaction of a job well done. And if you find yourself in need of additional assistance or a professional touch, don't hesitate to contact us for a free quote. Together, we can make your walls as good as new.
Ready to work with TUSCON DW?
Let's connect! We’re here to help.
Send us a message and we’ll be in touch.
Or give us a call today at 111-222-3333
Agency Contact Form
More Marketing Tips, Tricks & Tools